
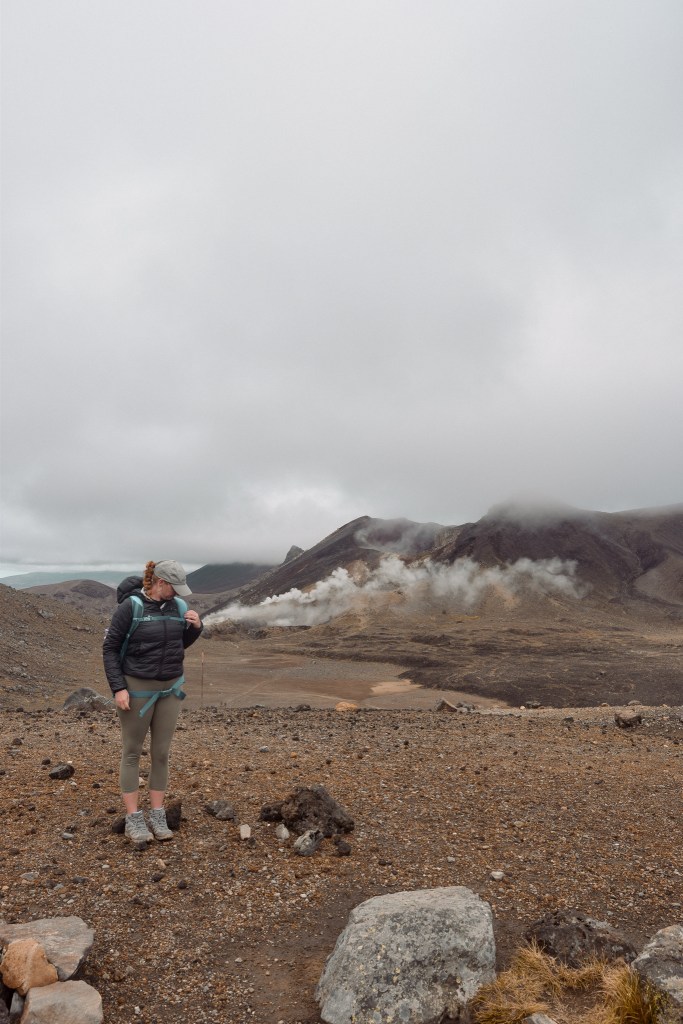
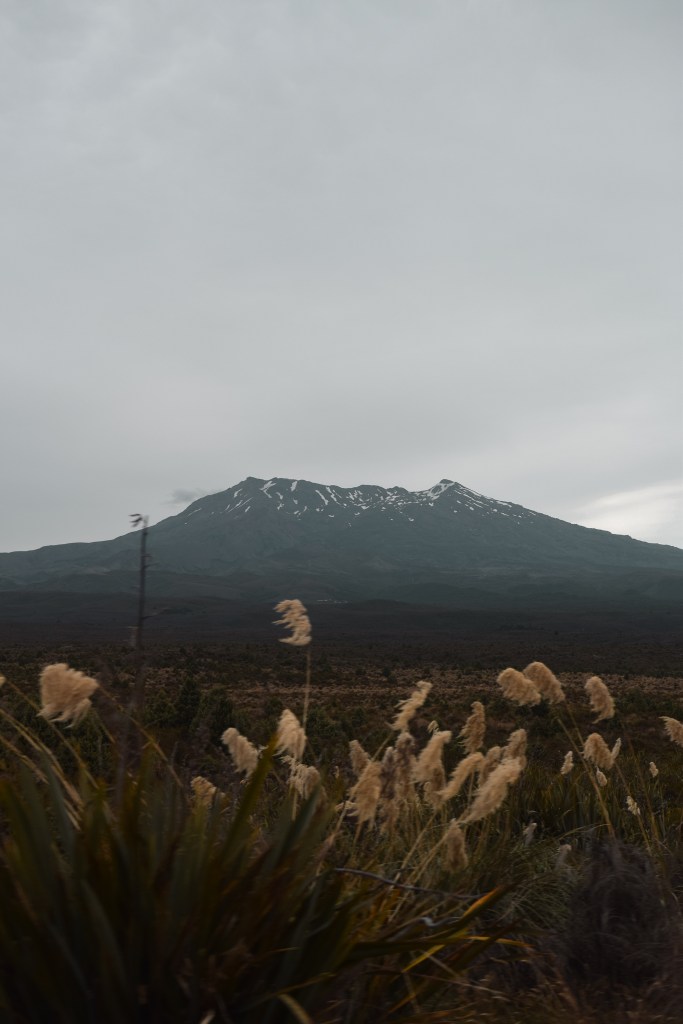
Located in the North Island of New Zealand, the Tongariro alpine crossing is commonly labelled as the best single day hike in the world. You may also recognise the mountain and surrounding landscapes from ‘The Lord of the Rings’ movie trilogy where Mt Ngauruhoe starred as Mount Doom. The 19.4 kilometre journey includes steep inclines up Mt Tongariro, an active volcano and through famously unpredictable weather, though it is definitely worth it in my books.
It is important to note that the hike is difficult and dangerous due to the erratic alpine climate and walking through a maze of live volcanic vents, furthermore the altitude of the volcano means you will quite literally be walking in the clouds. This can impair visibility dramatically as it did for us. When I completed the hike, the weather varied massively, with temperatures ranging from -5 to 30 degrees celsius in addition to rain, snow and tropical humidity, so this isn’t a hike that you can just “rock up to and wing it”.
But despite all this, the hike is a great one to tick off the bucket list. I’m going to list everything from making the booking to all six checkpoints throughout the hike.
Booking the hike
The government in New Zealand has enforced a daily cap on climbers accessing the mountain trail and it is mandatory to book your trek prior to setting off. This is in order to monitor you for safety reasons and there are government officials checking this at the beginning of the trail. Book online any time prior to the hike, but i’d recommend filling the form out prior to entering Tongariro National Park to not risk running out of service.
Transport and parking
There are two car parks on either side of the Tongariro alpine crossing. The Ketetahi car park (located at at the exit side of the hike) is a private car park located 10 minutes form the start of the hike. It will cost you $10 NZD for the day, expiring at 5pm and can be booked online. In saying this, there if a 4 hour limit on parking and the hike ends tens of kilometres away and therefore I advise paying for a shuttle.
The shuttles cost $60 NZD a person, however, this includes all day parking, and a shuttle service that will both drop you off at the start of the trek and pick you up at the end according to their time slots. All information and bookings can be made here.
Furthermore, the shuttle car park contains showers and toilets, making it a great (and free) place to camp overnight prior to the hike if you’re planning on making an early start.
It’s really a no brainer to book this shuttle as you will not have the energy to negotiate much else when you’re at the finish point!
What to bring
I didn’t know what to expect on this hike. I’m pretty relaxed when it comes to hiking, but this trek requires planning and quality gear to complete. The hike begins off relatively warm in a sub-tropical climate, however once you reach the alpine climate, the temperature can drop to minus temperatures, therefore bringing the correct gear is vital for maximising comfort. Below I recommend the following items;
- Hiking Pants
- Hiking boots and quality socks
- Breathable top
- Water proof/ resistant jacket
- Walking poles (I didn’t use these but they come in handy)
- Waterproof gloves
- Long hiking pants – I wore tights, but in bad climates longer pants are advised.
- 1.5L drink bottle (minimum)
- Backpack
- High energy food
- Sunscreen
The hike – Checkpoint breakdown
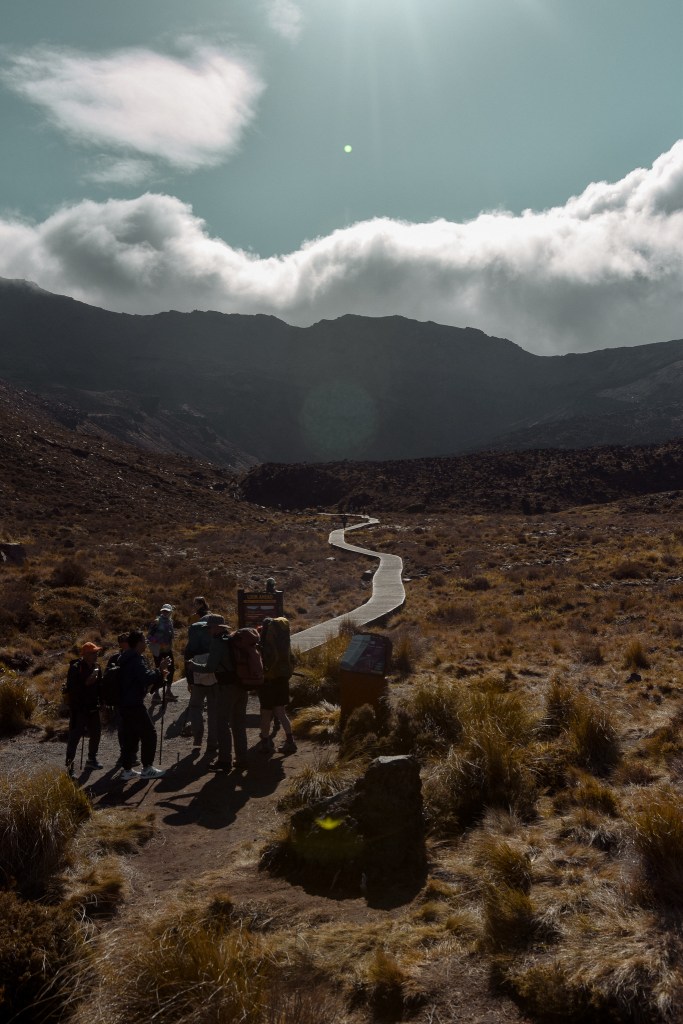
First checkpoint: Mangatepopo Cart Park – Soda Springs
The hike starts at Mangatepopo Car Park. This part of the hike is relatively easy and follows a grippy board walk. The path enters the base of Mount Tongariro which soon engulfs you will rugged hills, black ash and pristine streams which weave throughout the track. There is an opportunity to walk slightly off track toward Soda springs, a beautiful waterfall and spring that is worth seeing. As the track begins to incline, there are toilets and an area to sit down allowing you to hydrate and refuel yourself. This part of the walk takes approximately 1.5 hours.
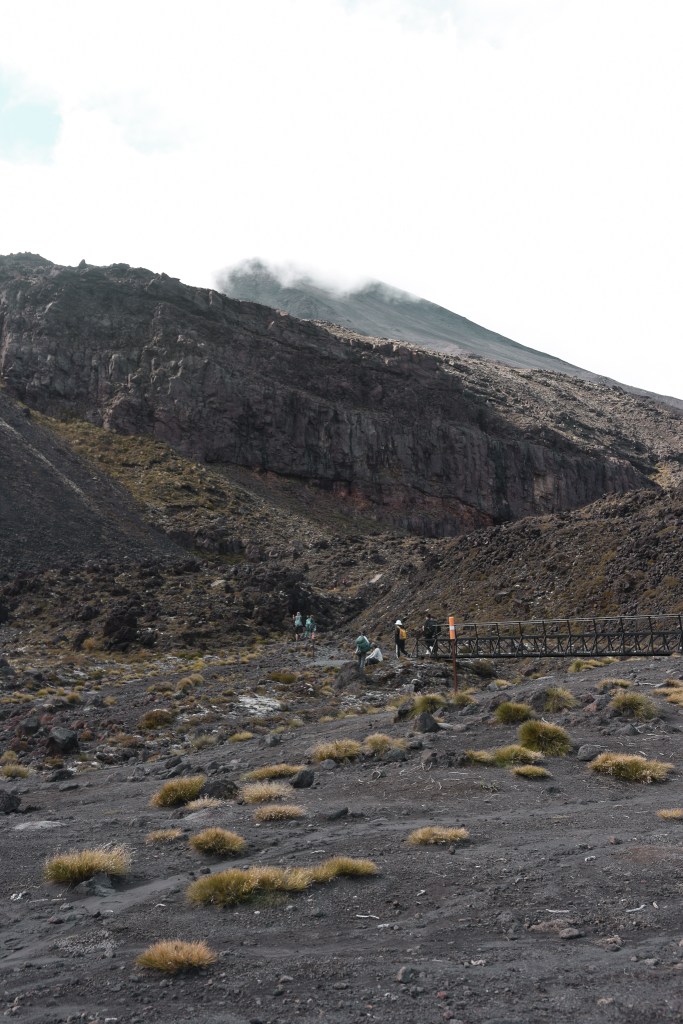
Second checkpoint: Soda Springs – South crater
The second part of the hike is where the challenge truly begins and is quite literally all up hill on a steep incline and the calve burn will set in. A narrow stair case lines boulders and volcanic obsidian. This is where the atmosphere begins to resemble something that is taken out of ‘Mordor’ and the temperature begins to drop as the altitude increases. This is a great time to pop on a light coat or jacket. At the top of the crater there is a flat which allows you the opportunity to have a rest if needed, in addition to a number of toilets. This is the last toilet opportunity for a little while so take the opportunity while you can. This part of the journey takes approximately 1 hour.
If you find this too challenging and don’t think you can continue, its a good place to turn around and walk back to the car park. The walk only gets more challenging from here, especially during the colder months of the year or during bad weather.
Third checkpoint: South crater – The Red Crater
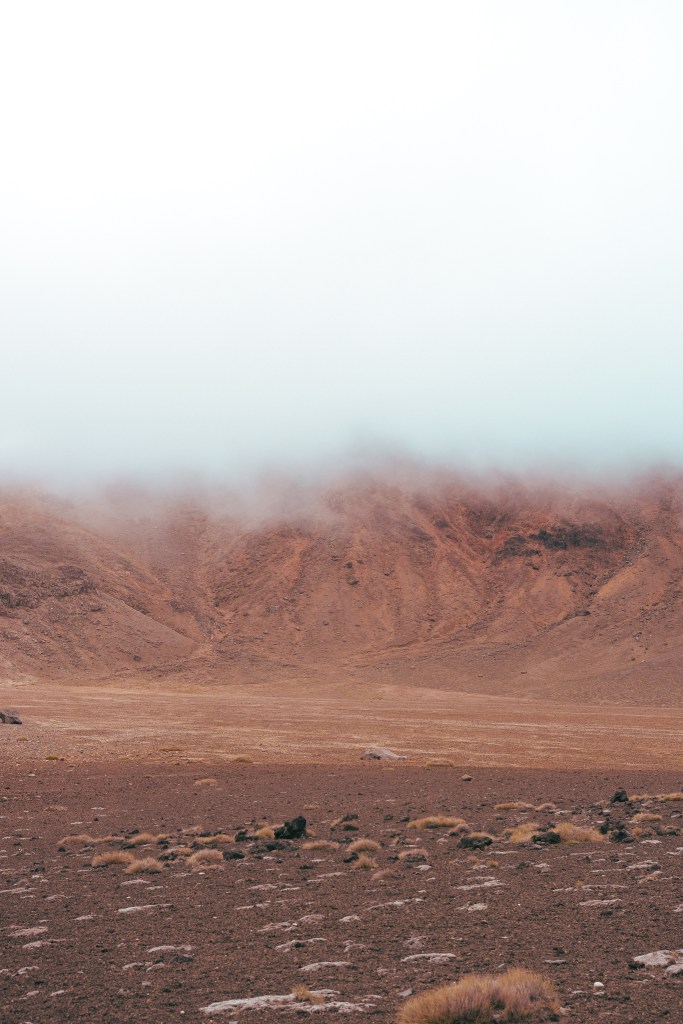
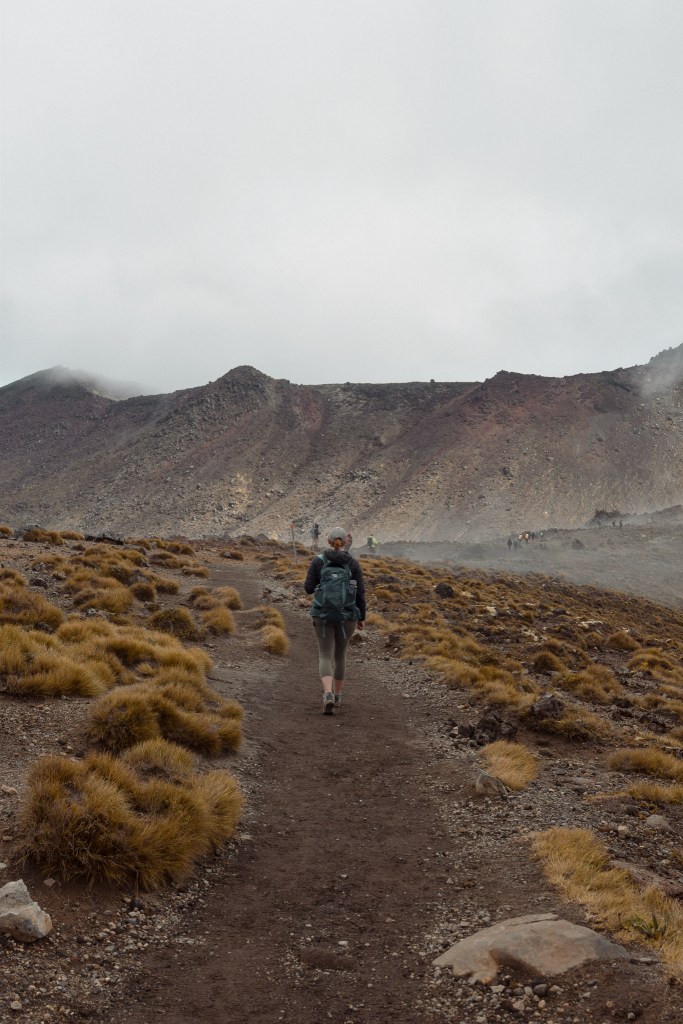
As this checkpoint suggests, the walk consists of walking adjacent to the famous red crater. The start of this walk is flat, but breathtaking. It can only be compared to the planet Mars, with a long plane of orange dirt, a plethora of craters and on a rainy or cloudy day, you will begin ascending into cloud. At the end of the South Crater, you will climb another ascend, which is a real calf burner and finger chiller (you may consider wearing gloves and a coat at this point), and can be slippery given bad weather. Along this trail further volcanic vents can be seen, one being the Red Crater, which only enhances the out of world experience.This park of the walk takes about an hour.
Fourth checkpoint: The Red Crater – Blue Lake
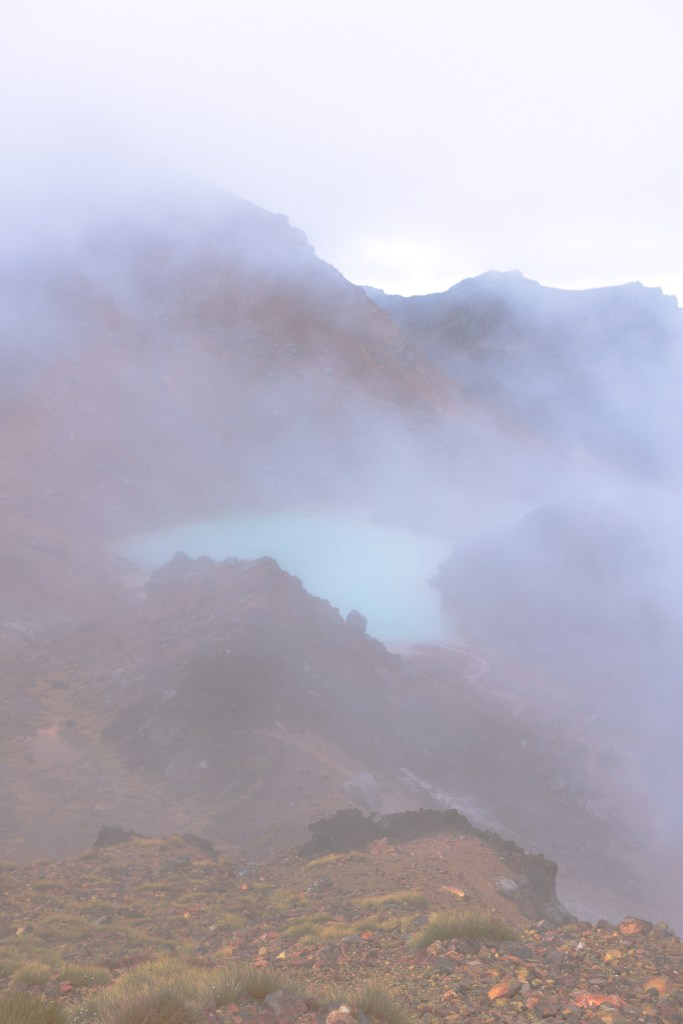
Congratulations! This is half way through the gruelling hike. Just past the red crater you will notice a pile of rocks and a flag signifying the alpine summit. Your aching legs will be distracted by the three pools of blue water from this view point. On a clear day this view is extraordinary, and a large reason as to why people do the hike in the first place. Unfortunately for me it was cloudy, but the trek does encircle the pools, which allows you to view the area at a close range. It is important not to touch these pools of water due to being sacred to the Maori people. Just keep in mind that the ash and soil on the decent of this area is extremely slippery and smells strongly of sulphur, but I promise it’s worth it.
Following the pools you will find yourself walking through yet another crater. The path is flat and at times lava can be seen flowing from the vents in clumps. You can also gaze upon various steaming vents which only makes the views in this are more dramatic. After climbing out of the crater you will find yourself next to the Blue Lake, a great place to have lunch and hydrate. This takes approximately an hour.
Fifth checkpoint: Blue Lake – Ketetahi Hut
This part of the hike is relatively flat and easy in nature. Theres a few rocks and boulders on the track, but otherwise manageable . You will find yourself at Ketetahi hut which is surrounded by toilet blocks, which are also the last toilets on the hike. Just be aware that there isn’t always enough toilet paper for hikers to use, so bringing a roll is advisable. This will take approximately half an hour.
Sixth checkpoint: Ketetahi Hut – Ketetahi carpark
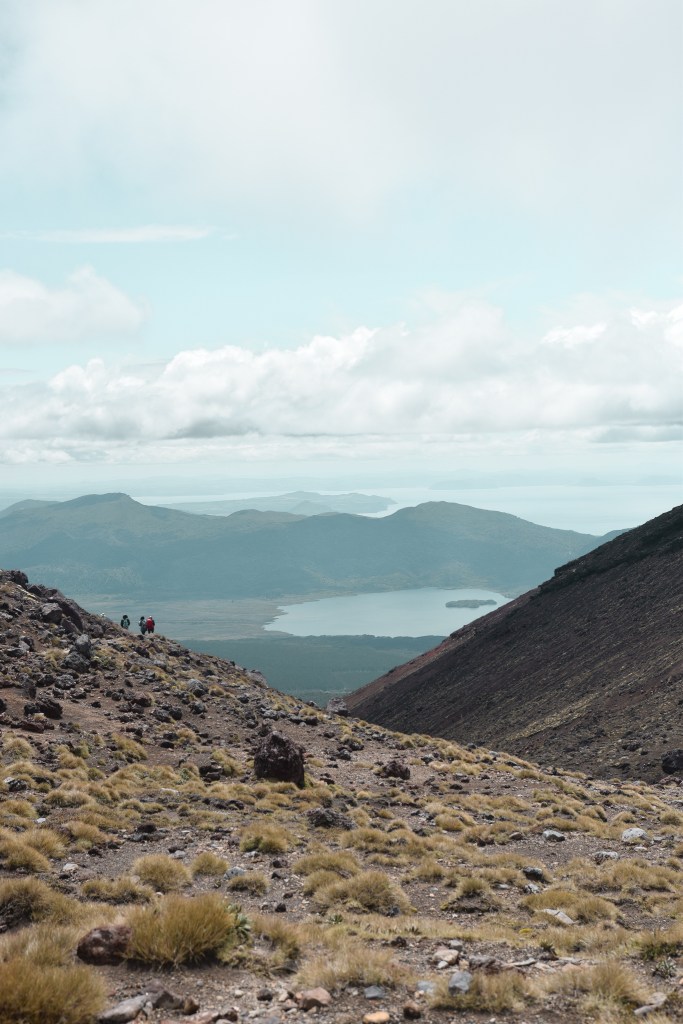
You are almost there. This is the steepest part of the descend and overlooks some epic views of Lake Taupo and the surrounding region. With the trail tightly hugging the cliffs edge, its mesmerising to watch how the flora seamlessly transforms from Alpine shrubs and trees, into a sub-tropical jungle. As the path snakes down the mountain you will pass over a number of running streams of water in addition to waterfalls, which continue to flow into the rainforest below into water rapids that you will merge into. Admittedly, this part of the walk is somewhat deceiving as you are so close however does manage to stretch on for quite some time.
You will eventually reach the care park on the rainforest floor, where buses will arrive 1-2 hourly (this will be announced by your shuttle driver when being dropped off at Mangatepopo Cart Park at the beginning of the hike).


Leave a comment